

Reaktion Academy
Reaktion’s ‘My Tracking’ page explained
Reaktion has a detailed tracking page that lets you configure serverside tracking destinations for your marketing channels, choose your attribution settings, manage which conversion events are to be sent to your ad accounts and so much more. Here is a breakdown of all the settings on the ‘My Tracking’ page.
Access the ‘My Tracking’ page here.

Before proceeding to configure any settings, please ensure that you select the right web shop from the drop down on the left as these settings are web shop specific.
Serverside tracking destinations – depending on the data source that you have configured (Shopify, DanDomain, WooCommerce, etc) you can choose a serverside destination and map the desired ad account. To add a serverside destination, click on ‘Add serverside Destination’, and you will be able to choose from the following options – Meta Ads, Google Ads, Google Analytics 4 and TikTok. Once you add the destination, you can then choose the store, ad account, pixel ID, or Measurement ID depending on the marketing channel.
An important point to note here is to ensure that you have only added ad accounts that are relevant to the selected wen shop. For example, say you have selected the Denmark store. This means that only Denmark ad account(s) should be enabled here. The redundant ad accounts need to be removed. For every store you select in the dropdown on the left, please ensure the ad accounts on the right that are not related to that shop and delete wherever necessary.
Conversion Events – This lets you decide which conversion events need to be sent from Reaktion to your ad accounts.
There are three categories of conversion events and multiple events under them for you to choose from – Serverside tracking events, offline tracking events and micro conversion values.
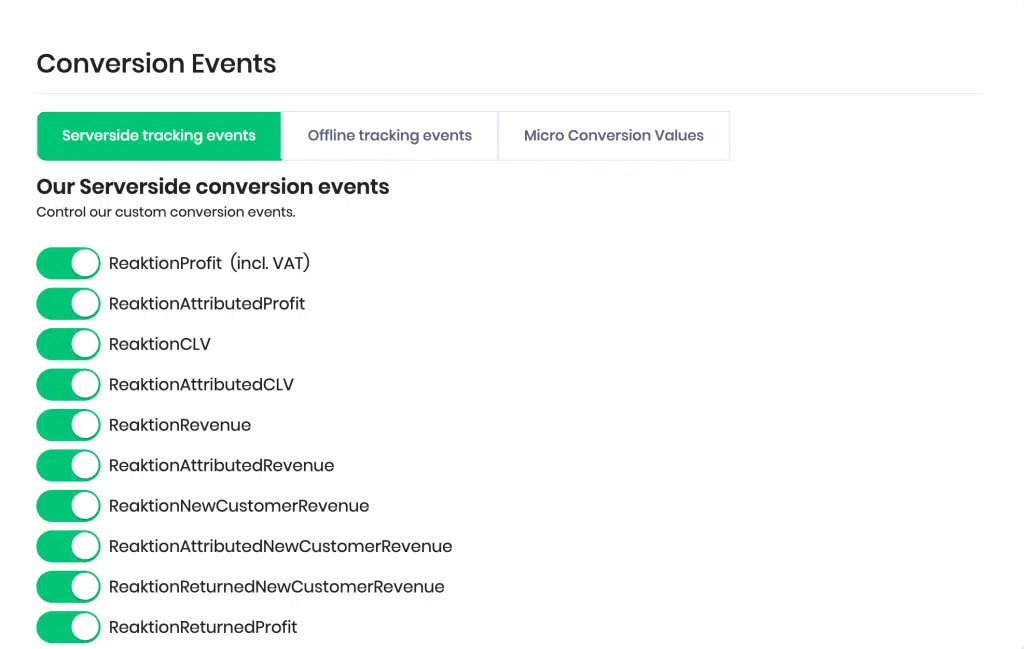
Serverside tracking events – When you install Reaktion and connect a marketing channel like Google Ads and Meta Ads, we automatically create several custom conversion events as “secondary” events. These secondary events do not influence your existing tracking and marketing setup. Our custom conversion events are based on our own combined browser and server-side tracking.
Offline tracking events – We support offline tracking methods for Google Ads and Meta Ads. If you have decided to opt in for offline tracking instead of our standard server-side tracking, you can enable which offline events you would like to send to your ad accounts.
Micro conversion values – To use micro conversions in your marketing optimization you need to assign an avg. value per micro conversion event. You can choose a timeframe and desired webshop(s) to set the micro conversion values. Reaktion supports two kinds of micro-conversions – Transactional micro-conversion indicators and Browsing behavior micro-conversions.
Shopify Tracking – depending on the data source you use, this section could vary. For example, if you have chosen Shopify as the data source, you would be able to see the script that is used for Shopify tracking here.
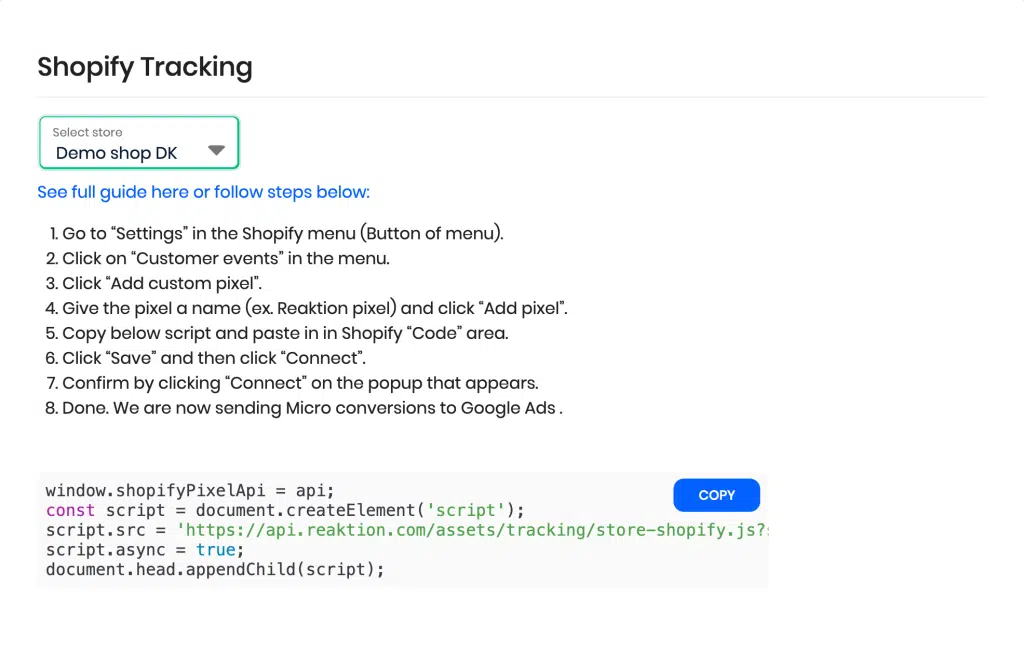
If you use Magento1, Magento2, and WooCommerce, this section would not be available since these data sources are all installed via plug-ins.
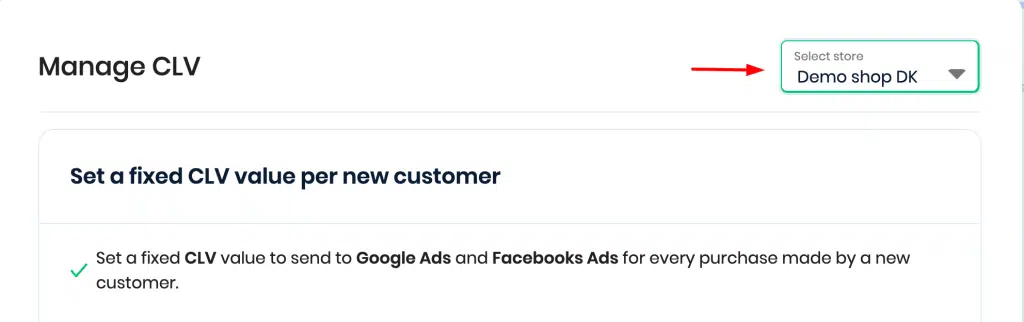
CLV Bidding – This setting can be used to set a fixed CLV value to send to Google Ads and Meta Ads for every purchase made by a new customer.
Example – If Google Shopping generated a new customer that never purchased from your store before, then we will send this value back to your Google Ads account and attribute this value to the Google shopping ad that generated the sale. This way, you can pay more to generate a new customer and optimize for customer lifetime value.
Please do ensure to select the correct webshop before setting up this value –
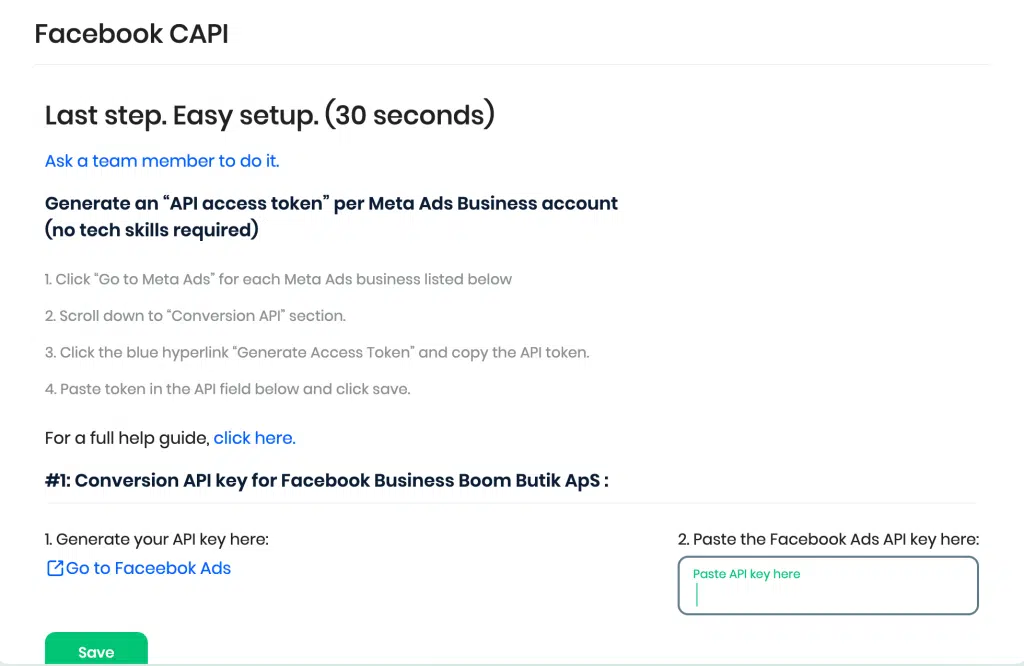
Meta CAPI – To ensure proper Meta Ads tracking, you would need to generate an ‘API access token’ per Meta Ads Business account and insert the key here in this section. When you click on ‘Manage’, you can find the steps to obtain the conversion API key and insert it –
Attribution Settings – A common challenge for marketers today is attribution. For example, if a user views a Meta ad and 5 days later clicks on a Google Ad and makes an order of $100, then both Meta Ads and Google Ads will claim 100% of the sale and hence 100% of the $100 revenue generated. That means the sum of reported Google Ads revenue and Meta Ads revenue now is $200 (and not just $100 as the initial sale).
Thats simply not true! The solution: Attribution!
With Attribution, you define what click or clicks in the user journey that should get credit for the sale. For example, a sale of $100 could be evenly distributed between First and Last click. Or you can define your own custom attribution.
If you click on ‘Manage’ against the Attribution Settings, you would be able to choose between five attribution settings –
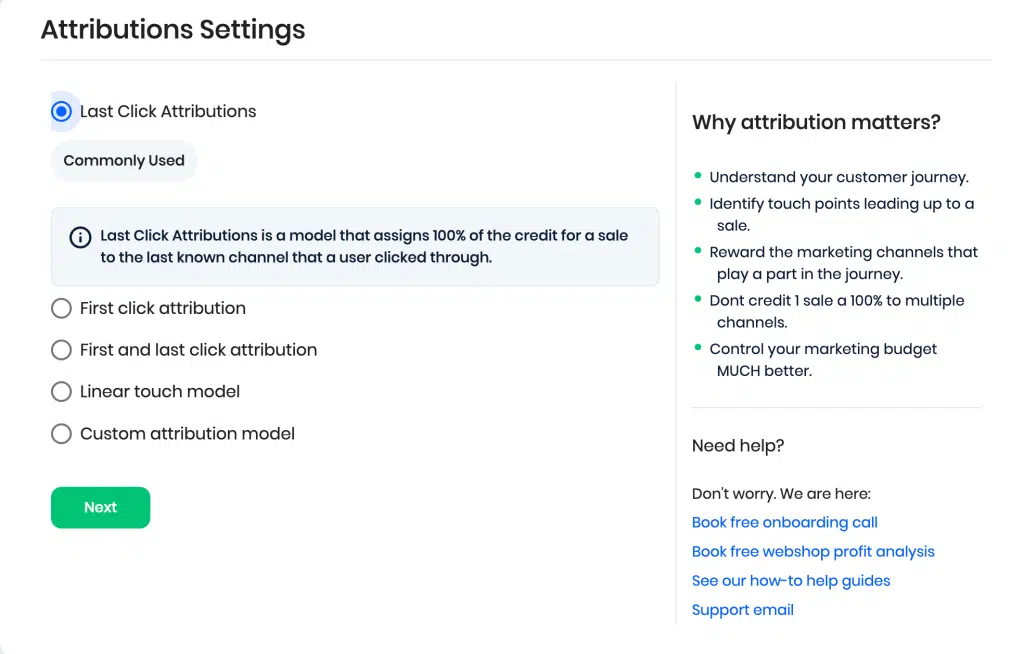
Last Click Attributions – Last Click Attributions is a model that assigns 100% of the credit for a sale to the last known channel that a user clicked through.
First Click Attributions – First click attribution is a model that assigns 100% of the credit for a sale to the first known channel that a user clicked through.
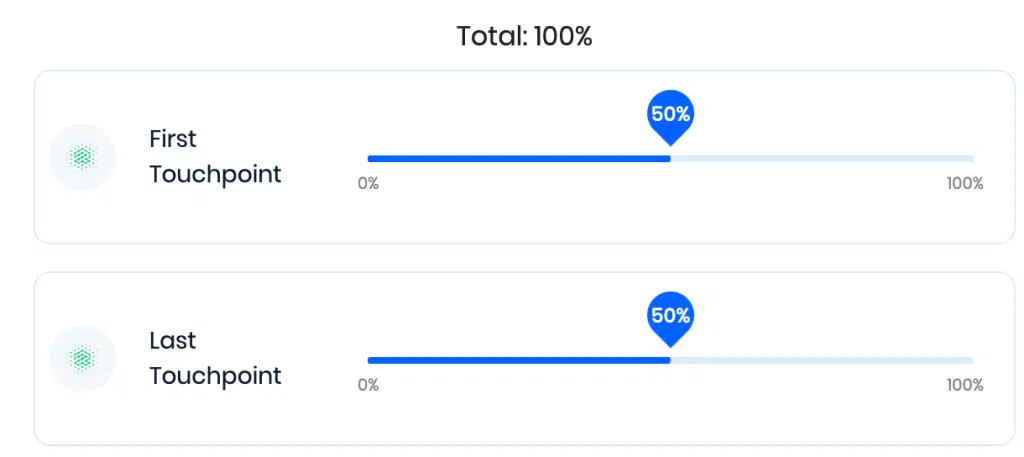
First and Last Click Attributions – First and last click attribution is a model that assigns 100% of the credit for a sale evenly (within the conversion window) to the first click (50% credit) and last click (50% credit) before completing a purchase.
Linear Touch Model – Linear touch model is a model that assigns 100% of the credit for a sale evenly between all the clicks within the conversion window before completing a purchase. (ex. Click A (33.3% credit), Click B (33.3% credit) and Click C (33.3% credit).
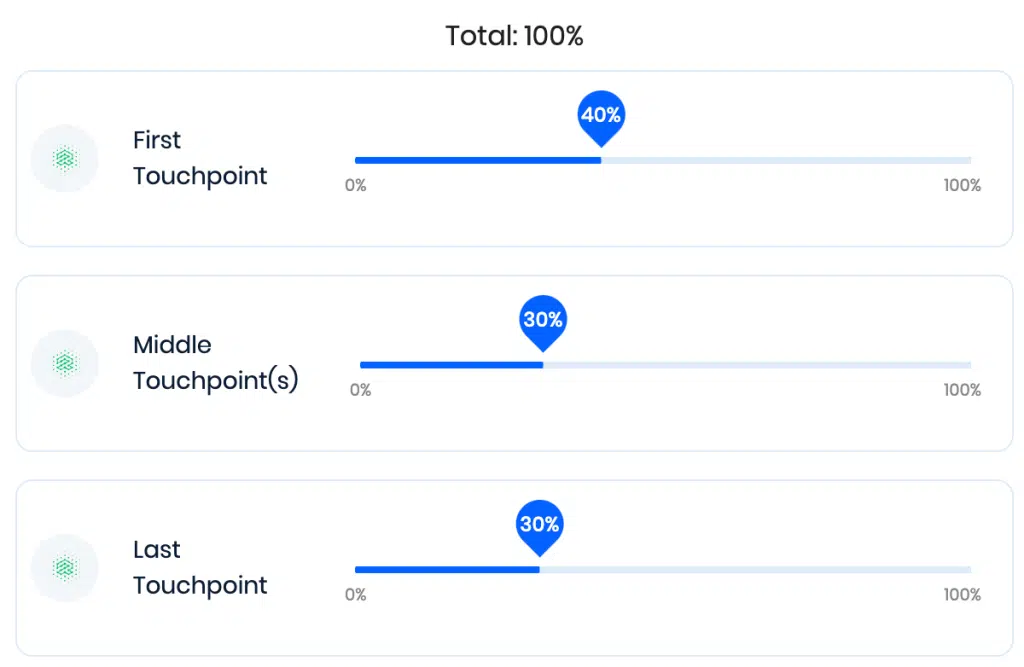
Custom Attribution Model – Custom attribution model is a model that assigns a desired credit for first click, a desired credit for all “middle” click(s) (evenly split between all “middle” click(s)) and a desired credit for the last click leading up to the sale. All within the platform specific conversion window settings.
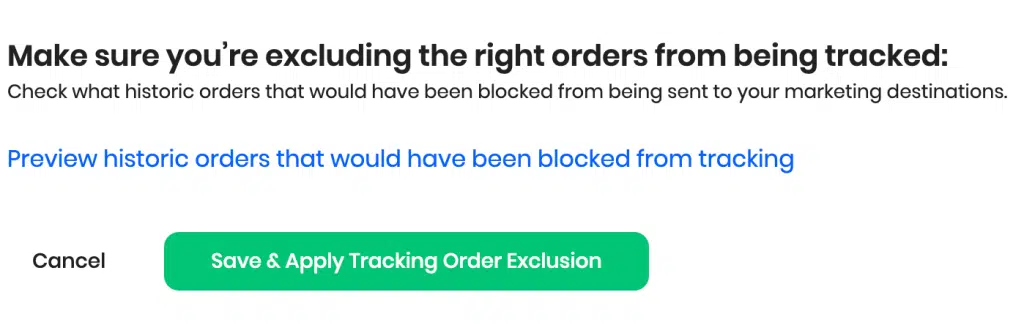
Exclude Orders from Tracking – This setting lets you block specific orders from being sent to your marketing destination based your desired criteria. The following criteria options are present – Customer Tags, Payment Method ID, Order Source, Order Source Type, and Order Tags. Based on a criteria you choose, you can exclude certain orders from being tracked.
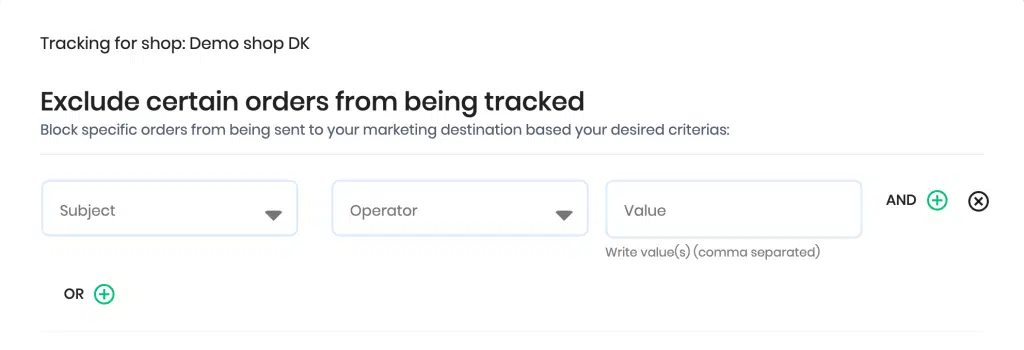
You also have the option to check which historic orders would have been blocked from being sent to your marketing destinations.
Other Settings – This section contains the Consent Mode settings. You would have to enable two consent mode settings for all the stores in Reaktion to ensure that full GDPR compliance is achieved.
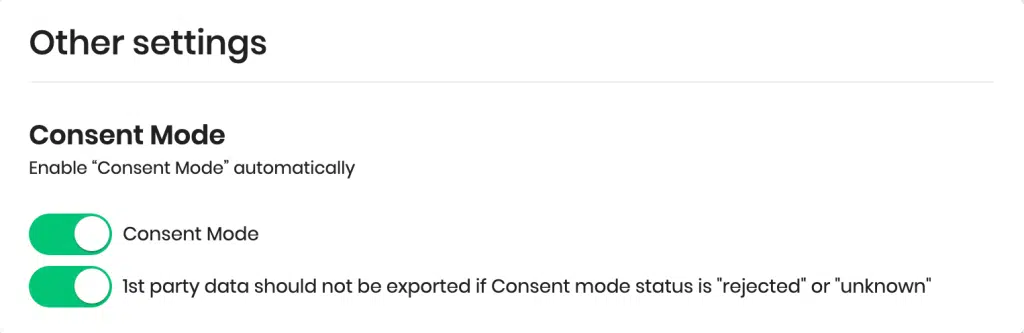
Enabling the second option would not export first party data, but only if the consent mode status is ‘rejected’ or ‘unknown’. With all other statuses, first party data is exported. All order data, revenue, etc are always imported into Reaktion and visible in financial metrics. We export first party user data per conversion depending on the user consent status.
That covers all the settings in the ‘My Tracking’ page.